
Help guide · macOS 14.4+
Tune reactivity in one tap with Auto-Reactivity
Getting every audio-driven control to react just right by hand is the least fun part of building a look. Auto-Reactivity (✨) does it for you: it listens to the music for a few seconds and auto-tunes each reactive control so it uses its full range without maxing out.
Tutorial video — coming soon
-
Know when to reach for it. Use Auto-Reactivity when your controls look wrong: pinned at the top and not moving, or barely twitching, or sitting on a steady rumble that drowns the beat. It's the easy button for the gain/squelch/signal fiddling.
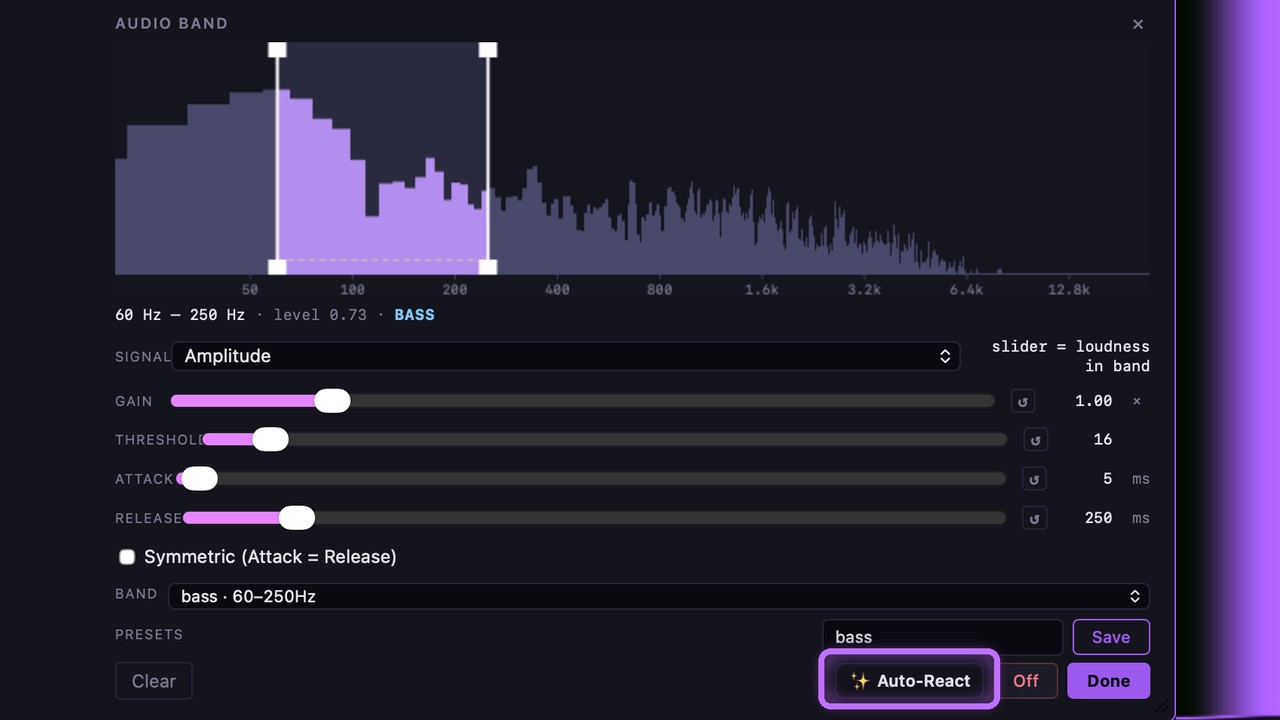
Rather than fiddling with gain / squelch / signal by hand, hit ✨ Auto-React. - Play a representative part of your track. Auto-Reactivity tunes against the real audio, so start your music and let a representative section play — a part with the energy you want the visuals to react to.
- Tap ✨ Auto-Reactivity. In the Source tab, tap ✨ Auto-Reactivity to tune every reactive control at once — or use the per-control ✨ Auto-React button inside a control's reactivity popover (shown above) to tune just that one. It auto-tunes band gains (and squelch and signal as needed) so each control reacts cleanly.
- Let it run, then review. Keep the audio playing while it works — it takes roughly 10–30 seconds. When a band is too steady to tune from the music alone, it briefly plays a short calibration tone to find the best mapping. When it finishes you can see what changed per control and still adjust anything by hand.
Troubleshooting: Auto-Reactivity needs music playing — it can't tune against silence and will tell you so. If you'd rather not hear the brief calibration tone, there's a quick music-only mode. The same tuning is available to scripts and agents (see Automation & API).