Blog · How-to · v3.7.0 · September 26, 2026
How we made our demo videos (and how your agent can too)
A demo of audio-reactive art has one job: show the picture moving with the music. That turns out to be harder to record than to perform. Here's how we made the 3.7.0 videos, the one lesson that cost us a morning, and how an AI agent did every step without anyone touching the mouse.
Part 1 — The human story
1. Start with music you're allowed to use
Our demo track, OceanHiss, is our own, so we can use it anywhere we like. It is a slow, bass-heavy piece with a clear kick, which is just what audio-reactive art likes. When the song was done we exported it as an uncompressed audio file. Keep that file: it's the soundtrack of the finished video, and it matters more than you'd think (step 5).
2. Let Spiralyst Lab hear the music — and let a recorder hear it too
Spiralyst Lab listens to your Mac's system audio, so anything you play reacts. A screen recorder is a different story: macOS doesn't give it the system sound on its own. The usual fix is a loopback audio driver — for example BlackHole, a free, open-source one; any loopback device works.
In Audio MIDI Setup, create a Multi-Output Device that sends to both your speakers (or headphones) and the loopback device, and choose it as your sound output. You still hear the music, Spiralyst Lab still reacts to it, and a recorder can pick the loopback device as its audio input.
3. Let the art tune itself to the track
Pick your scene. On the ocean wave (part of the licence), press 🎵 React to music: one click binds the scene's best controls to the right bands of the music, with sensible ranges. Then play the track and press ✨ Auto-Reactivity. It listens for a few seconds and tunes every band to this song: a bass-heavy track that would pin the loudness-driven controls gets moved over to onsets, so they pulse with the kick instead of sitting at the top. Play a representative part of the song while it tunes; tuning against silence tunes for silence.
Then give the scene a moment to settle before you record. Trails need one trail-length to fill in; a pulse ring needs time to travel out across the sea (half a minute for big rings); the beach needs about as long for its surf zone to fill.
4. Go fullscreen, and keep the frame full
Put the art fullscreen. For a clean picture, leave the control panel hidden; for a tutorial that shows the sliders moving with the music, pin the panel so it stays on screen in fullscreen.
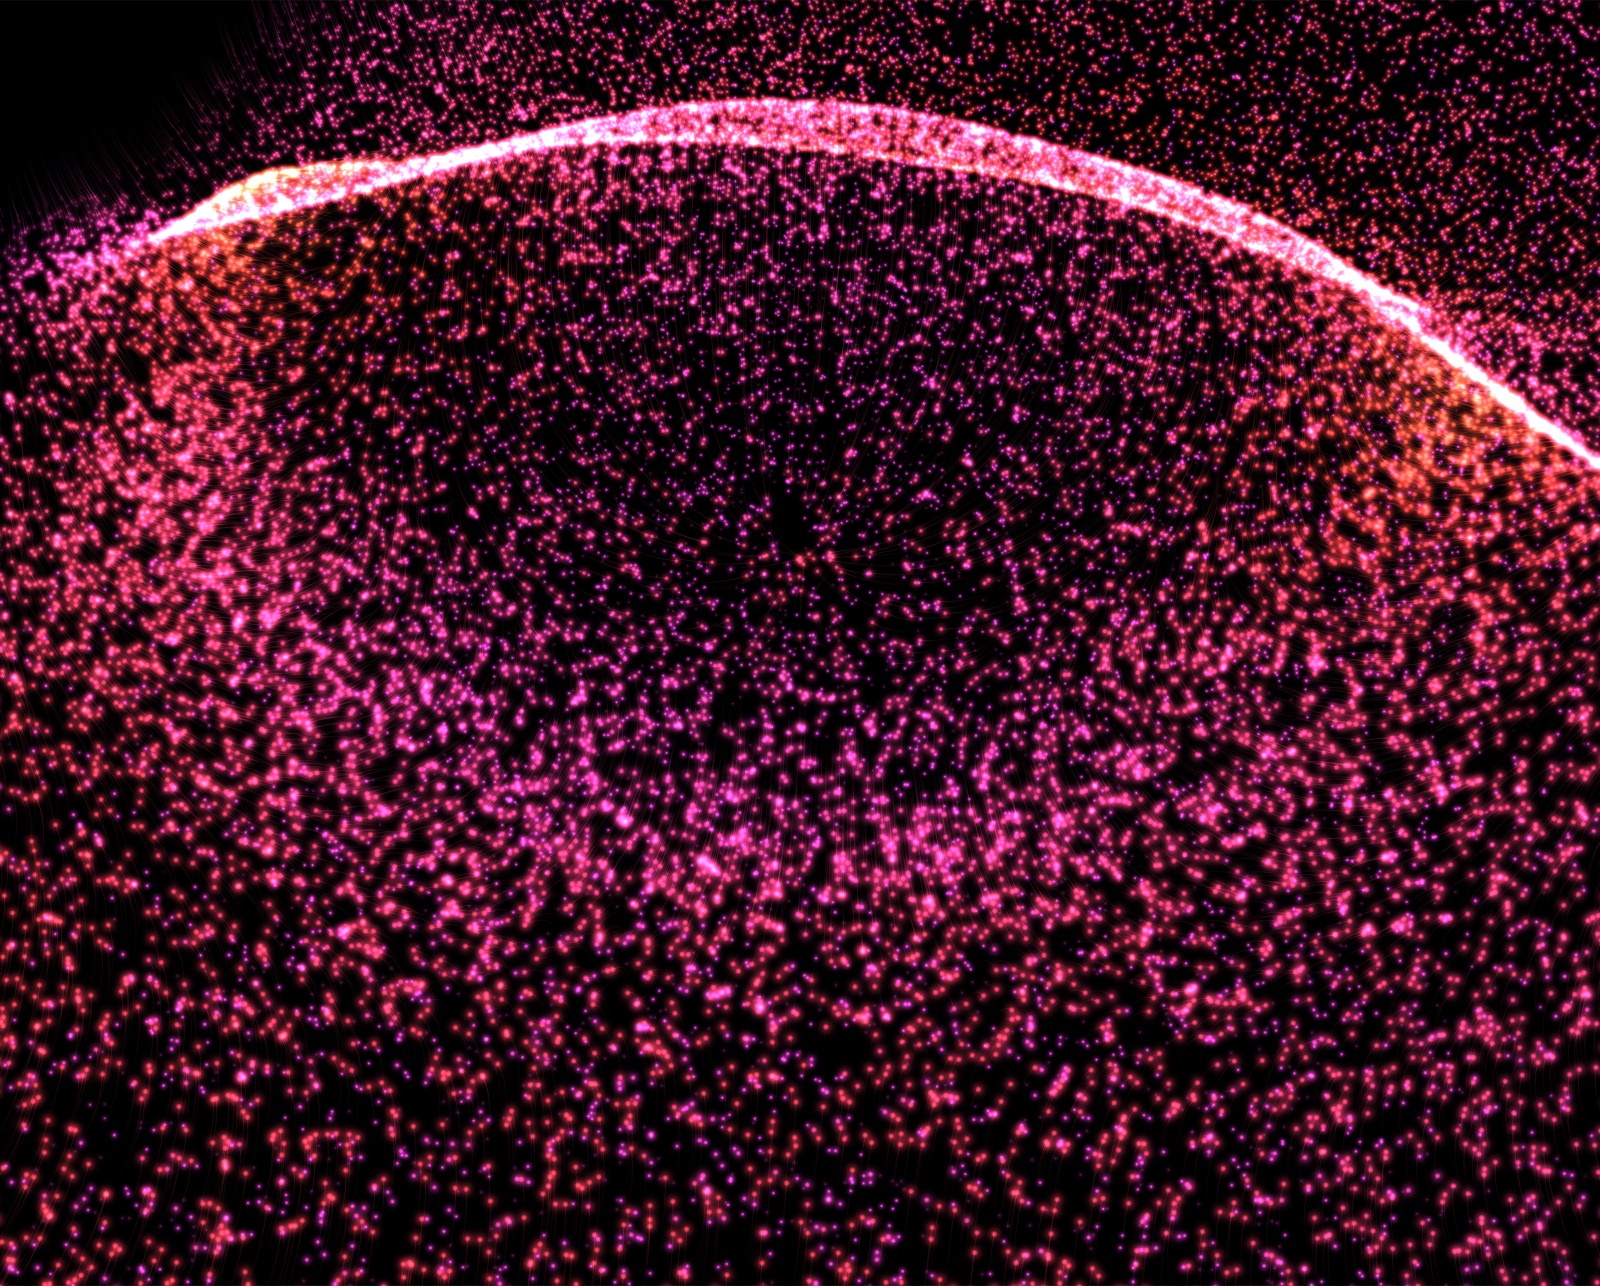
Then look hard at the frame. Our early takes were mostly black sky with a sea at the bottom. Nobody wants to watch a mostly black video, so we moved the camera in close and steep, and let it orbit on three slow, unrelated rhythms so the shot never visibly repeats. Judge fullness by eye, or if you're measuring: count empty regions of the frame, not dark pixels. Particle art is mostly dark gaps between bright drops even when it fills the screen edge to edge.
Before you record: keep the window visible (a hidden or minimised app slows its animation clock, and slow camera moves quietly freeze), hide the cursor if your recorder can, and leave the mouse alone — a pointer near the bottom of the screen brings the Dock up.
5. Record — and don't trust the recorded sound
This is the lesson that cost us a morning. We recorded the screen and the loopback audio together in one go, and the result looked fine and sounded wrong: clicks, and music that seemed sped up, pulling ahead of the picture. Measuring it, a 52-second song had come back as about 46 seconds of sound. The loopback capture had dropped whole chunks of audio, and the player simply played what was left back to back. (The recorder was also delivering screen frames a little faster than it claimed, which made the picture drift the other way.)
The robust method is to never use the recorded sound in the final video:
- Record the picture. Record the screen as usual.
- Record the sound as a reference, nothing more. Capture the loopback audio too, but use it for one thing: to find when the song started. The first note is always there, even if later chunks go missing.
- Play the song once, from the top, while both recordings run.
- Lay the original file under the video at the moment the song started, in any video editor. Line the reference track's first note up with the original's first note, then mute or delete the reference.
Your editor does step 4 with a drag. If you like the command line, the "For the technically curious" box below does it with ffmpeg.
6. Check the sync
Scrub to a kick drum and step frame by frame. On our takes, the picture follows the kick by about a tenth of a second. That's the app's own reaction time plus the screen capture itself, and it's consistent from the first beat to the last — which is the thing to check. If the offset grows over the song, the sound or the picture is running at the wrong speed; go back to step 5. (Some scenes react later on purpose: a pulse ring takes time to travel outward, so it arrives at the edge of the frame noticeably after the kick. That's the wave, not your recording.)
Two more checks worth a few seconds: the finished audio should be the same length as your original file, and the video should run at the frame rate you asked for.
For the technically curious — the ffmpeg version. Record the picture with wall-clock
timestamps, so every frame is stamped with the moment it actually arrived (replace <screen>
with your screen's number from ffmpeg -f avfoundation -list_devices true -i ""):
ffmpeg -use_wallclock_as_timestamps 1 -thread_queue_size 8192 -f avfoundation \
  -capture_cursor 0 -framerate 30 -pixel_format nv12 -i "<screen>:none" \
  -copyts -fps_mode passthrough -c:v h264_videotoolbox -b:v 60M take-video.mkv
In a second terminal, record the loopback device the same way (-i "none:<loopback>",
-c:a pcm_s16le into take-ref.mkv). Play your song once, then press q in
both. Find the first note in the reference with silencedetect, subtract the video's first
timestamp, and put the original file under the picture from that point:
ffmpeg -i take-video.mkv -i my-song.wav -filter_complex \
  "[0:v]setpts=PTS-STARTPTS,trim=start=<offset>,setpts=PTS-STARTPTS,fps=30,scale=1920:-2,format=yuv420p[v]" \
  -map "[v]" -map 1:a -shortest -c:v libx264 -crf 24 -c:a aac -b:a 256k -movflags +faststart demo.mp4
Raw full-resolution captures are big — tens of megabytes a second — so use the hardware encoder as above, keep plenty of free disk space, and delete the raw files once the finished video plays cleanly.
Or skip the screen entirely: the Export tab renders the canvas straight to a video file — the canvas's own pixels, no desktop in the frame — and you add the soundtrack in your editor. Exports are video-only by design. Use Export for clean loops of the art; use the screen method when you want the controls in the shot or a live performance.
Part 2 — The agent story
Every step above, we did without touching the mouse. An AI agent — Claude Code, Anthropic's command-line agent, in our case, though any agent that can run a shell command will do — drove Spiralyst Lab through its local API: it built the scene, switched on React to music, ran Auto-Reactivity with the track playing, set the camera moving, went fullscreen, saved the look as a preset, recorded the take and checked the result.
Spiralyst Lab writes the API's address and a secret token to a file in your home folder every time it starts. Read them first:
P=~/.spiralyst-lab/api-port.json
BASE=$(jq -r .url "$P")                             # http://127.0.0.1:<port>
AUTH="Authorization: Bearer $(jq -r .token "$P")"   # changes every launch
Own the whole scene. Read the current scene, change what you want, send the whole thing back. Switch off any animation you don't want in the shot, so nothing left over from earlier keeps moving:
curl -s -H "$AUTH" "$BASE/api/state" > scene.json
# … edit scene.json (type, camera, colours, and every animation you want on or off) …
curl -s -H "$AUTH" -X POST -H 'Content-Type: application/json' \
  -d @scene.json "$BASE/api/state/apply"
React to the music, then tune to it — with the song playing. useTone:false tunes
against the music alone, so no test tone ends up in your recording:
curl -s -H "$AUTH" -X POST -H 'Content-Type: application/json' -d '{"on":true}' "$BASE/api/flows/react"
curl -s -H "$AUTH" -X POST -H 'Content-Type: application/json' -d '{"useTone":false}' "$BASE/api/audio/heal"
sleep 8; curl -s -H "$AUTH" "$BASE/api/audio/heal"     # the report: what changed, band by band
curl -s -H "$AUTH" "$BASE/api/audio/bands"             # each band's live level
Take the stage — fullscreen, panel hidden (send {"pinned":true} to keep the controls
in the shot) — and check what the audience will see:
curl -s -H "$AUTH" -X POST -H 'Content-Type: application/json' -d '{"on":true}' "$BASE/api/window/fullscreen"
curl -s -H "$AUTH" -X POST -H 'Content-Type: application/json' -d '{"pinned":false}' "$BASE/api/window/panel"
sleep 3; curl -s -H "$AUTH" "$BASE/api/window/status"  # {fullscreen, panelPinned, panelVisible, …}
Keep the look. When a take is the one, save it to your own preset library under any name you like, ready to load at the gig:
curl -s -H "$AUTH" -X POST -H 'Content-Type: application/json' \
  -d '{"name":"Crossing Seas — Orbit (music)"}' "$BASE/api/presets/save"
The agent then ran the recording from Part 1, played the song once, laid the original file under the picture, and checked its own work: the audio the same length as the song, the frames arriving at thirty a second, the track starting where it should. It also wrote down every setting of each take — scene, camera, colours, every tuned band — so any take can be made again. The agent was also the one that noticed the capture problem in step 5: it measured the sound it had recorded, found 46 seconds where there should have been 52, and worked out why.
It found two genuine app bugs along the way, and both are fixed in 3.7.0: a still preset used to keep an old camera orbit running underneath, and the "tuning to the music" notice sat over the artwork. And it was an agent running out of things it could do by API — "save this as a preset", "go fullscreen" — that turned those into features.
Is it safe to let an agent do this?
It's the same local API as always. It answers on your own Mac (127.0.0.1) and nowhere else, every
request needs the secret token, the token changes every launch, and the file holding it is readable by you
alone. Nothing is sent to any cloud — not the scene, not the music, not the recording. The agent can do what
you could do with the controls; it can't reach anything else.